Friday 24 July 2015

H I A T U S

Hey doll faces.

I can't believe it's been over a year since I last posted a blog post or YouTube video! I have been incredibly busy, I've been finding myself some could say, I'm being selfish and you know what? I love it. I'm currently working an IT job designing websites. and in all honesty, I have lost motivation *sad face*. BUT, ever since re-visiting my website and YouTube channel I've felt overwhelmed with how much time, effort and love I put into all of my work. Not right now, not in the near future but trust me, I'll be back, for sure. ;)


Wednesday 5 February 2014

Australis Fresh & Flawless Foundation Review

Recently I won a giveaway from Smack Bang Beauty with lots of Australis goodies in it! One of the prizes included the Australis Fresh & Flawless Foundation which promises to treat skin while giving it a shine free medium to full coverage at the same time. So.. does it?

Shade Natural Fawn, RRP $12.95AUD.

Swatch.
Blended in.
I can't tell you whether it clears skin yet as I've only started wearing it. However, it does give a medium coverage (easily buildable to full). It does leave a matte finish (I'm currently wearing it without powder and it's still matte). As you can see in the above swatch, it does start to darken as it sets so maybe keep that in mind if you're wanting to purchase. I can say however that this doesn't look orange on me at all and I've worn it for a few hours now! 

"It contains Vitamin E which acts as a powerful antioxidant, moisturises skin from within and enhances skin smoothness and Allantoin which reduces inflammation and protects the skin from environmental pollutants."

The only thing I don't like, and this is what I experienced with the Mineral Inject Foundation from Australis too, is that the formula feels sticky, so it's a bit harder to blend and I would definitely recommend using a sponge or your fingers to apply this as it tends to stick to brush hair very easily.


I give Australis Fresh & Flawless Foundation a rating of;
 photo fullheart_zps5ae6f60b.png photo fullheart_zps5ae6f60b.png photo fullheart_zps5ae6f60b.png photo fullheart_zps5ae6f60b.png photo emptyheart_zps4b422200.png 4/5


Thanks so much to Steph for the lovely prizes! It's so nice to win something especially after holding a giveaway myself :)

Check Steph from Smack Bang Beauty out via the links down below!

Smack Bang Beauty Blog
Smack Bang Beauty Facebook/SmackBangBeauty
Smack Bang Beauty Twitter @Smackbangbeauty


Thursday 30 January 2014

BANG Cosmetics Review & Swatches

BANG Cosmetics is a New Zealand owned and handcrafted cosmetics company that is far from plain and boring! They have such a fantastic range of glitters, lip colors loose eyeshadows, mixing palette, rings, eyelash holders and they also have AWESOME mystery packs for undecisive people such as myself ;). I got two pro lip colour pottles and two loose powders, see the swatches down below. Oh, did I forget to mention they DON'T test on animals? I'm a sucker for cruelty free companies! You can find their products at Real Groovy in Auckland. Here's some more info.

"Handcrafted in NZ with love, our aim is to inspire and entice you, with colour and glitter, to get creative with your makeup"


Pro Lip Colour Pottles 'Kermit' & 'Luck Dragon' $23.00NZD each.


Luck Dragon is a very light peachy matte shade that is perfect to wear with very bright eyeshadows if you want the focus to be on the eyes. The great thing about these little pots is that they are very easy to use with a lip brush! (These babies come with a free one!)

My new favourite peachy nude! 'Luck Dragon'. Can you see how satisfied I am with it? :)

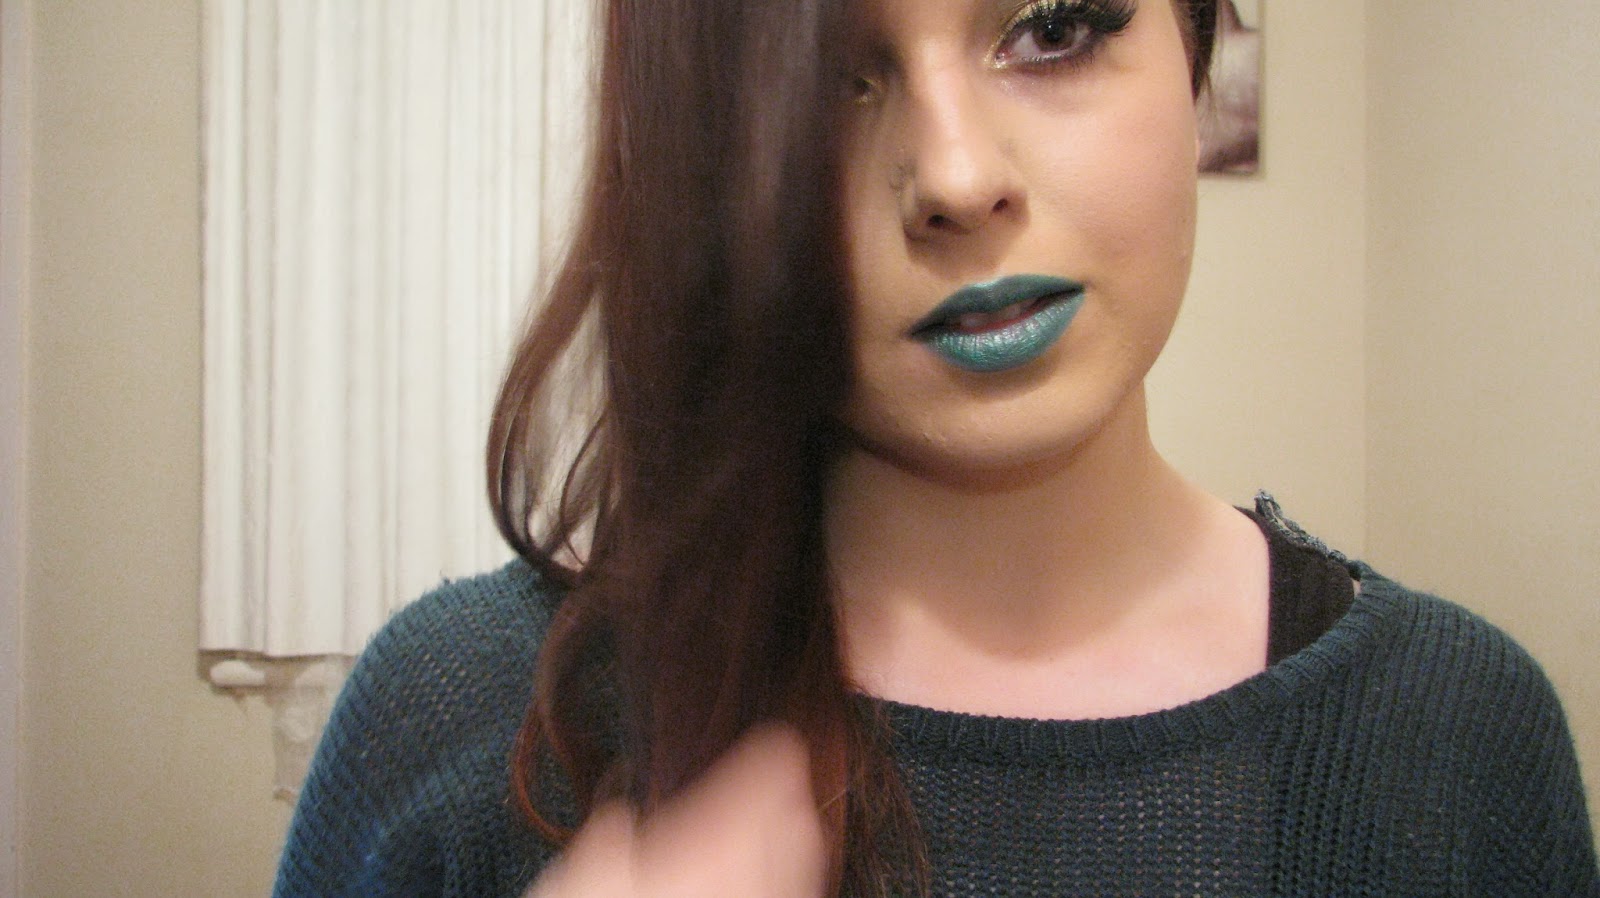
Kermit is a bold daring metallic green, pair it with a smokey eye and you'll surely be the center of attention!

Tutorial with 'Kermit' coming soon!
Loose Powder 'Mello' & '1965' $18.00NZD each.


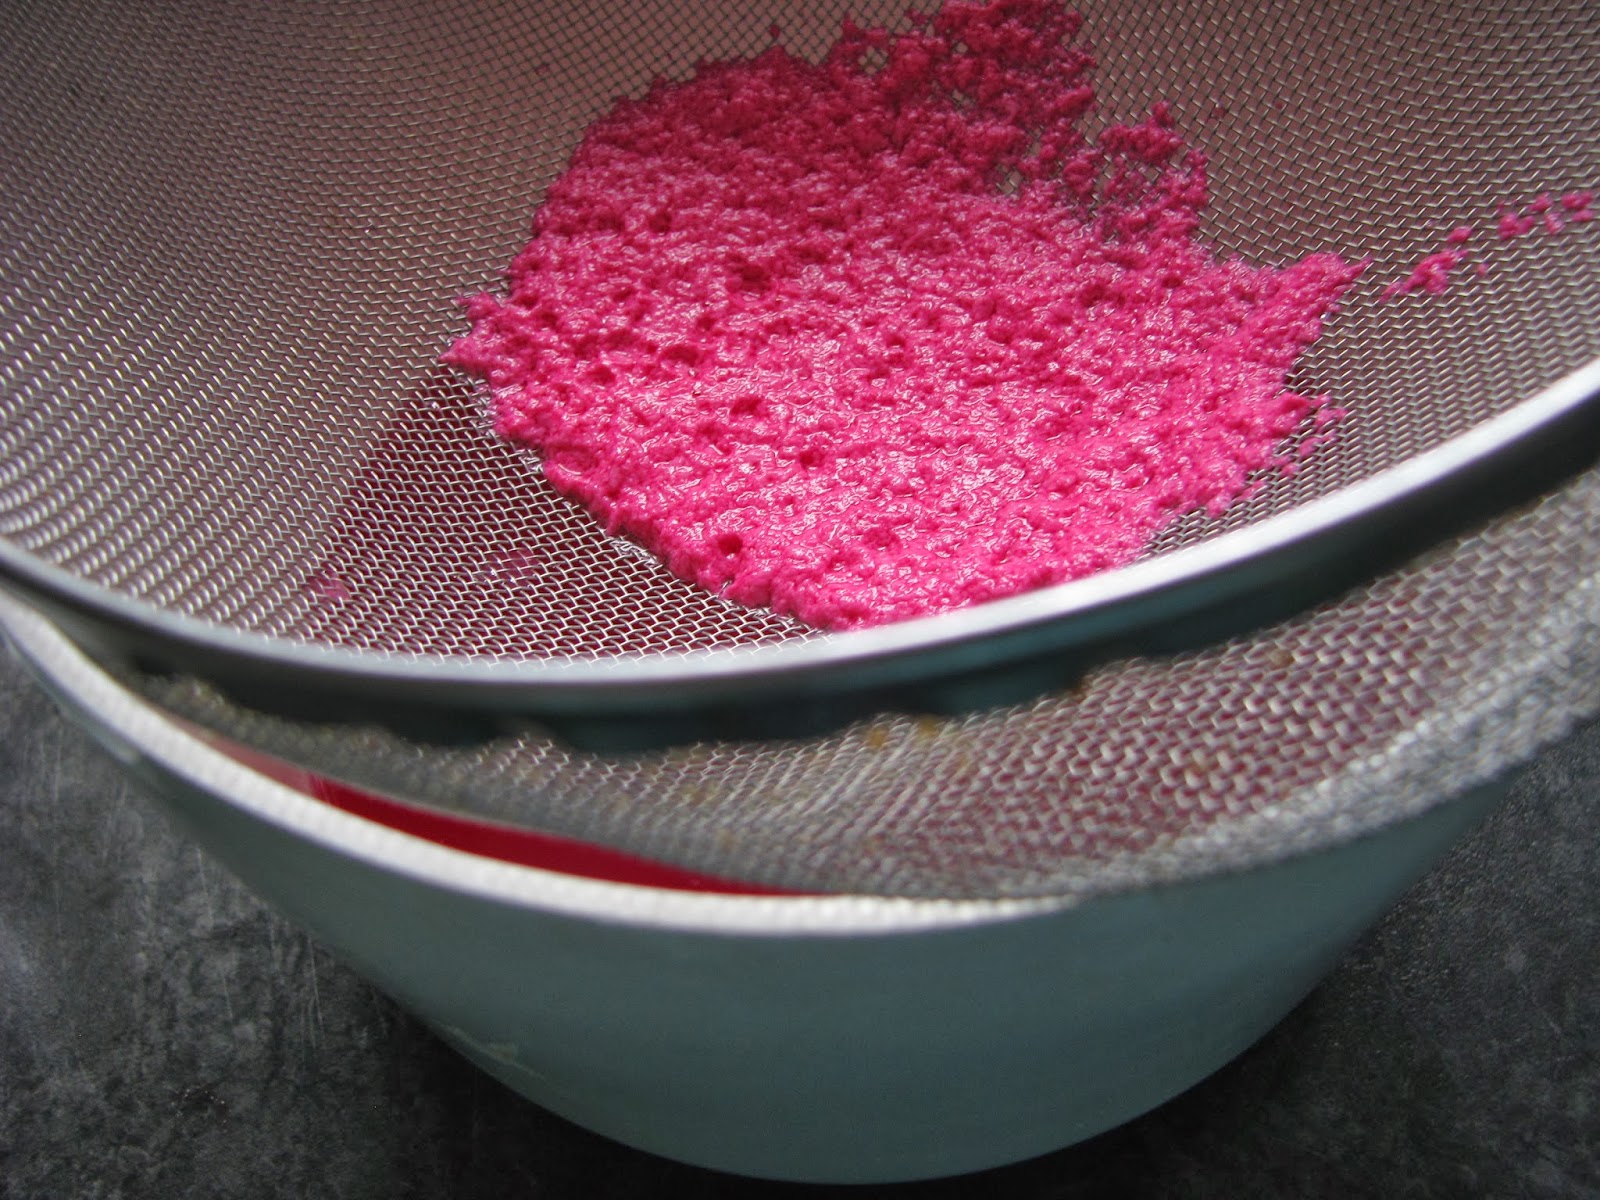
I love how most of the colour range from BANG cosmetics is really unique and unusual. I think everyone needs something a little different in their makeup collection and BANG cosmetics is an absolutely great place to get this fix! These two loose powders are extremely pigmented, a little goes a long way and they can even be used as eyeliner! Simply wet a liner or angled brush and apply it as you would eyeliner. Why not try one of their shades on your eyebrows? The possibilities are endless!

Mello is a bright yellow shadow with subtle shimmer, if you place it over a naked lid, you'll achieve a softer shade of it, applying it over primer will achieve a very BOLD colour! This looks so pretty on its own matched with a nude lip and thick winged liner, there are no rules with makeup however so go crazy with colour combinations! 

1965 is a pale, pearl blue packed with sparkle! The name of this shade is perfectly fitting as this is a colour I assume would have been highly popular in the 60's! Twiggy anyone?  Match it with a pink lip and you'll have a 60's feel instantly. You'll be ready to hop into a time travelling DeLorean back to the 60's and fit right in!

Please note unlike Mello, 1965 is not lip safe. Whether a product is lip safe or not will be addressed on the packaging.

Shop BANG Cosmetics
BANG Cosmetics on Facebook


I give BANG Cosmetics an overall rating of:
 photo fullheart_zps5ae6f60b.png photo fullheart_zps5ae6f60b.png photo fullheart_zps5ae6f60b.png photo fullheart_zps5ae6f60b.png photo fullheart_zps5ae6f60b.png 5/5
What's not to love?!

Look out for videos coming up soon where I'll be using BANG Cosmetics in tutorials!


Sunday 26 January 2014

Valentines Day Jelly, Coconut & Rum Treat♡

Hello lovelies! Here's a slightly time consuming, yet relatively easy Valentines day treat! What I love about making recipe tutorials on things I've never made before is that I will almost always make mistakes, but they benefit my readers because they can learn from them :) Mistakes need to be made for solutions to be found, am I right?


Ingredients:
 photo point_zps449a2d39.png Biscuits of your choice
 photo point_zps449a2d39.png 3 assorted jellies (purple,Red,Pink)
 photo point_zps449a2d39.png Plain gelatin
 photo point_zps449a2d39.png Strawberries
 photo point_zps449a2d39.png Rum (imitation is fine)
 photo point_zps449a2d39.png Milk (optional, use to pastelize jelly colours)

Steps:

1. Dissolve jelly #1.


I'm using the darkest jelly first, you can choose whichever you want, you can also do this with only one colour however you will need extra sachets depending on the size of the dish you use. TIP: To have the jelly set faster, use half boiling water and half  cold water, let it cool down to room temperature then set it in the freezer!

2. Crush and process.


You want a texture like this!
Place the biscuits in a medium bowl, I've opted for a coconut flavoured biscuit, you can do this without a processor however it will take a while! Add however much rum as you please.

3. Place biscuit base and add first layer


First, use glad wrap or baking paper to line a dish, you can use any dish, any size and any shape! Next, place the the biscuit mixture so it fills 1/4 of the dish. Make sure you pat it down well so it can mould to the dish, put it in the fridge for a bit so it can set. Then, when the jelly is completely dissolved and cooled, place on top! Keep in mind you have 3 other layers to add so don't pour too much in.

4. Layer jelly #2


You want to make the layer you're about to pour the next layer on top of is set and that the jelly mix you're about to pour has cooled down to avoid the dessert from combining together!

5. Layer jelly #3


I wanted to be fancy and pastelize the top layer! So I added milk, big mistake. I had added cold milk to hot water and apparently that's a big no no as the mixture went lumpy! I recommend adding half of the liquid mixture to the jelly and then waiting for it to cool before adding milk, you can skip the milk part though! It also looks a lot prettier if the milk jelly layer is at the bottom and there's a nice clear jelly layer on top, anyway, if you are going ahead with this and you do get those little annoying bits in the mixture like I did, just use a sieve and you'll get rid of them easily. That's the 'ombre' layers done! Now stick it in the fridge and wait.

#6 Decorate


I decided to decorate mine with heart shaped strawberries, I used a small cookie cutter but you can easily cut these into heart shapes yourself! I suggest getting very fresh strawberries and letting them sit in the fridge for a few hours before cutting them as if they're soft and smooshy, you're going to get a big failed blob of an attempt at any shape ha ha! Cut, shape, place as you wish gently pushing them into your semi-set last layer of jelly!

#7 Set


Okay, please bear with me as this is my first time attempting a multi-layered, complex jelly/biscuit dessert before I say what I'm going to say as this will now be my second mistake! I let the jello set before I intended it to. Ideally, if you're going to be decorating it exactly like this, you would want the top jelly to be semi set so you could push the strawberries in a tiny bit, in my case they were sitting on top! Quick fix; plain gelatin, which I mixed with rum, it's clear too so it set nicely and kept everything in place. Just make sure it's cooled down before you place it on top. Seals it all together perfectly! For best results leave it in the fridge overnight!

End result:


Serve on its own, with ice cream, strawberries, mascarpone and/or with shaved chocolate. Enjoy! If you recreate this please send me pictures I'd love to see it :)


Top