


Hello lovelies! Here's a slightly time consuming, yet relatively easy Valentines day treat! What I love about making recipe tutorials on things I've never made before is that I will almost always make mistakes, but they benefit my readers because they can learn from them :) Mistakes need to be made for solutions to be found, am I right?

Ingredients:
 Biscuits of your choice 3 assorted jellies (purple,Red,Pink) Plain gelatin Strawberries Rum (imitation is fine) Milk (optional, use to pastelize jelly colours)
Steps:
1. Dissolve jelly #1.

I'm using the darkest jelly first, you can choose whichever you want, you can also do this with only one colour however you will need extra sachets depending on the size of the dish you use. TIP: To have the jelly set faster, use half boiling water and half cold water, let it cool down to room temperature then set it in the freezer!
2. Crush and process.


 |
| You want a texture like this! |
Place the biscuits in a medium bowl, I've opted for a coconut flavoured biscuit, you can do this without a processor however it will take a while! Add however much rum as you please.


First, use glad wrap or baking paper to line a dish, you can use any dish, any size and any shape! Next, place the the biscuit mixture so it fills 1/4 of the dish. Make sure you pat it down well so it can mould to the dish, put it in the fridge for a bit so it can set. Then, when the jelly is completely dissolved and cooled, place on top! Keep in mind you have 3 other layers to add so don't pour too much in.
4. Layer jelly #2

You want to make the layer you're about to pour the next layer on top of is set and that the jelly mix you're about to pour has cooled down to avoid the dessert from combining together!
5. Layer jelly #3


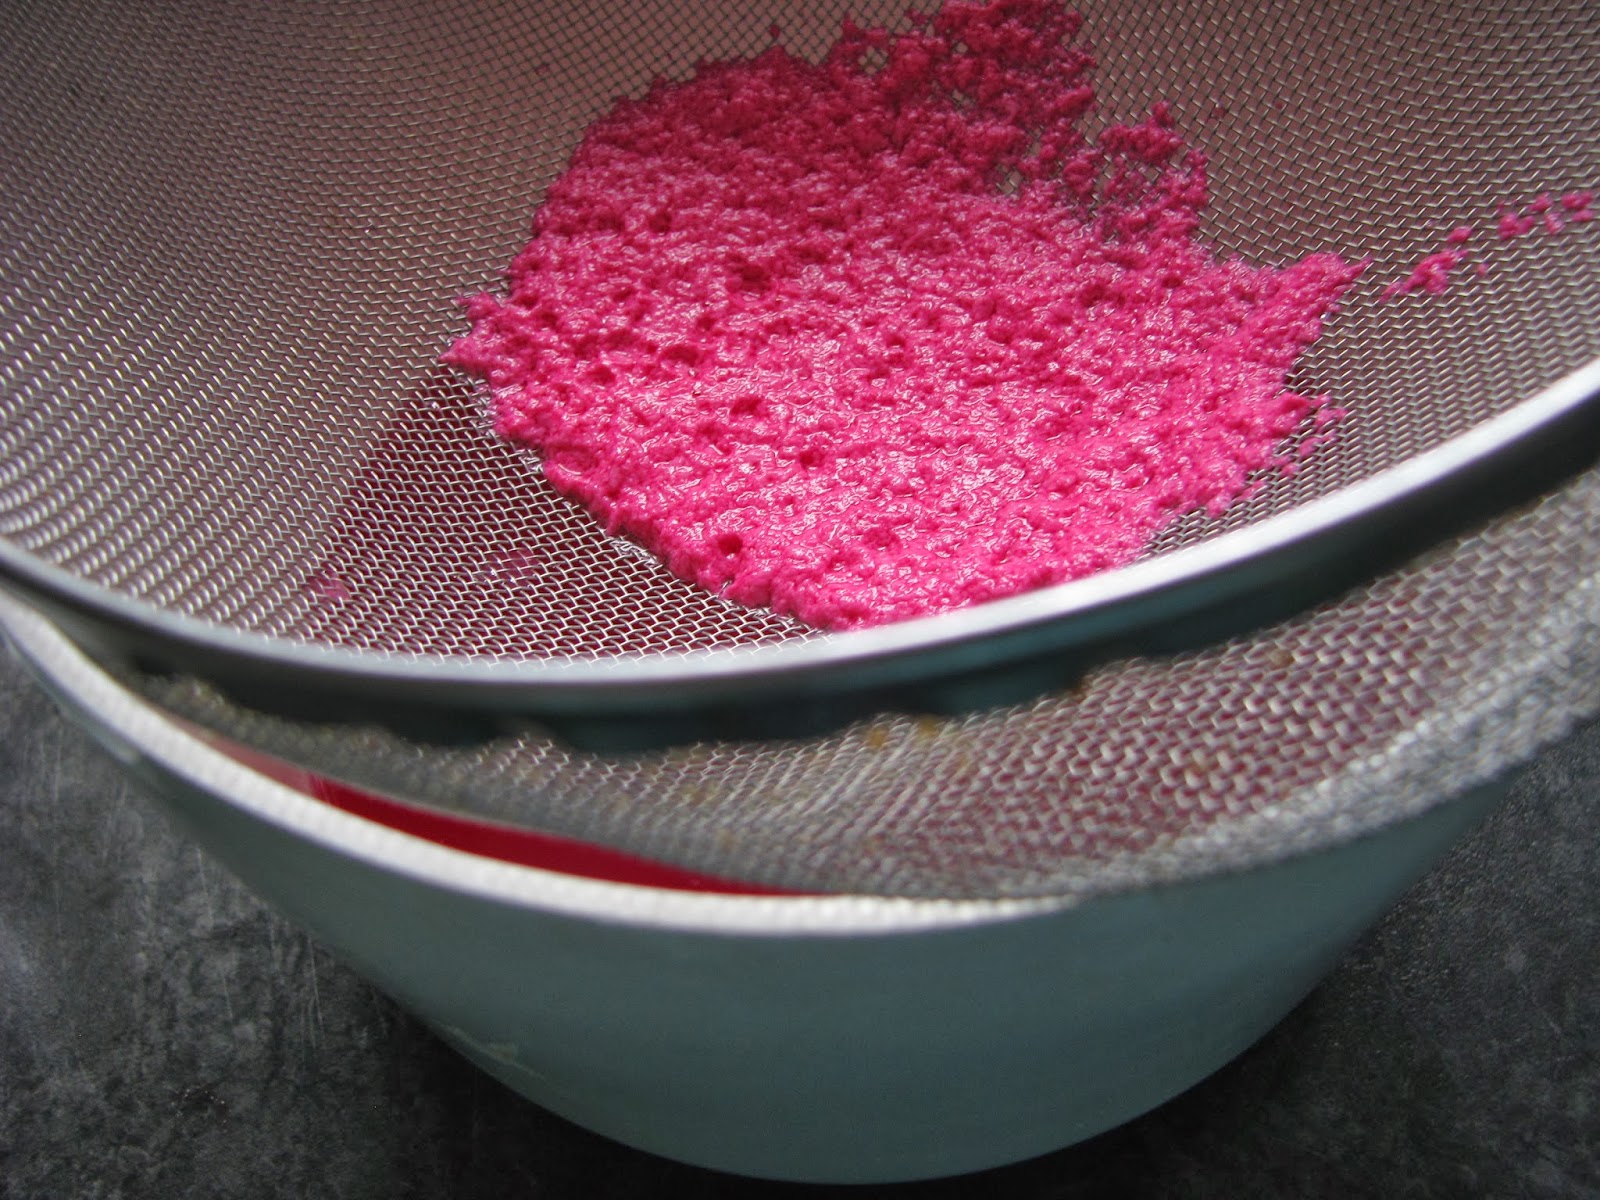

I wanted to be fancy and pastelize the top layer! So I added milk, big mistake. I had added cold milk to hot water and apparently that's a big no no as the mixture went lumpy! I recommend adding half of the liquid mixture to the jelly and then waiting for it to cool before adding milk, you can skip the milk part though! It also looks a lot prettier if the milk jelly layer is at the bottom and there's a nice clear jelly layer on top, anyway, if you are going ahead with this and you do get those little annoying bits in the mixture like I did, just use a sieve and you'll get rid of them easily. That's the 'ombre' layers done! Now stick it in the fridge and wait.
#6 Decorate


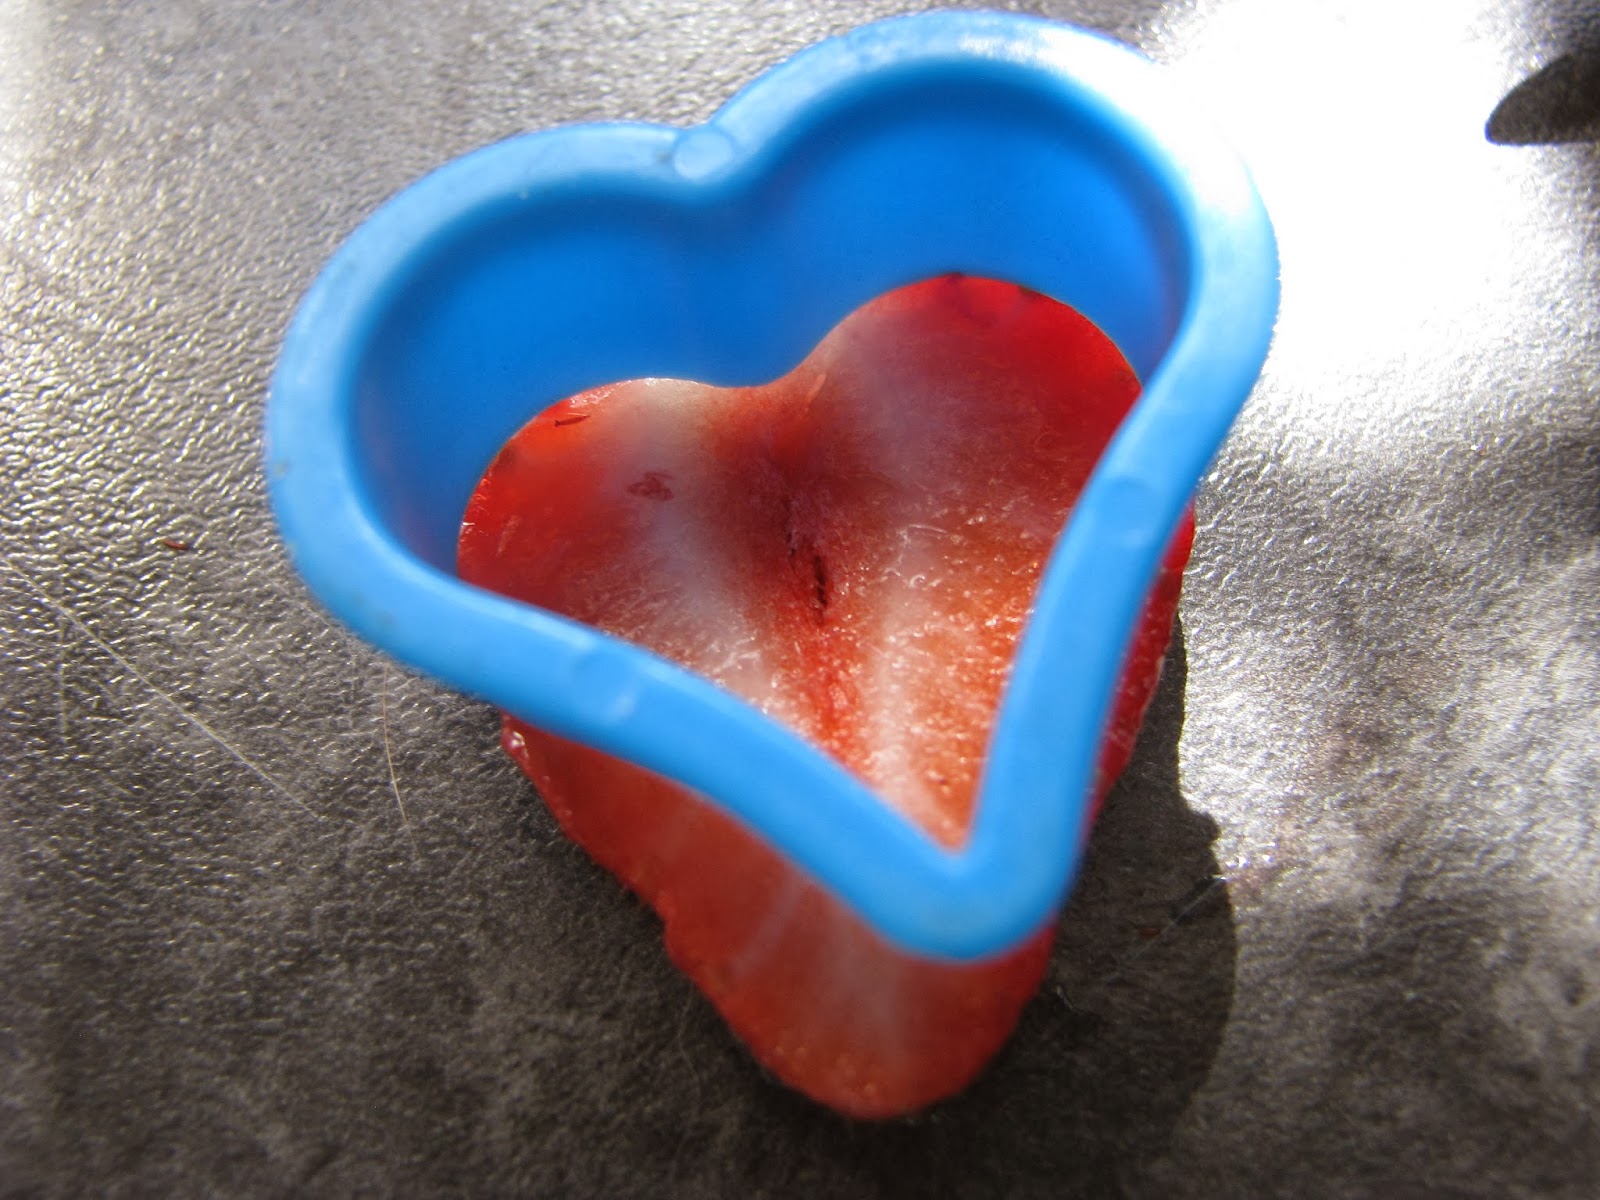


I decided to decorate mine with heart shaped strawberries, I used a small cookie cutter but you can easily cut these into heart shapes yourself! I suggest getting very fresh strawberries and letting them sit in the fridge for a few hours before cutting them as if they're soft and smooshy, you're going to get a big failed blob of an attempt at any shape ha ha! Cut, shape, place as you wish gently pushing them into your semi-set last layer of jelly!
#7 Set


Okay, please bear with me as this is my first time attempting a multi-layered, complex jelly/biscuit dessert before I say what I'm going to say as this will now be my second mistake! I let the jello set before I intended it to. Ideally, if you're going to be decorating it exactly like this, you would want the top jelly to be semi set so you could push the strawberries in a tiny bit, in my case they were sitting on top! Quick fix; plain gelatin, which I mixed with rum, it's clear too so it set nicely and kept everything in place. Just make sure it's cooled down before you place it on top. Seals it all together perfectly! For best results leave it in the fridge overnight!
End result:


Serve on its own, with ice cream, strawberries, mascarpone and/or with shaved chocolate. Enjoy! If you recreate this please send me pictures I'd love to see it :)

haha this looks mega uber yumm hun! x
ReplyDelete